Monday, September 8, 2014

*click on image to view full size*
PTU Dreaming in Autumn
This tutorial was written by me on September 8, 2014.
It was made out of my own creation and any similarity is purely coincidental.
I used pspx6 but any version should work without problems.
If you're doing this tutorial you must have good psp knowledge and be familiar with the tools.
Let's get started!
Artist: Sexy Song Rain by Arthur Crowe
Scrapkit: Autumn Charm by Niqui's Designs
Mask: DBV mask 111
Font: Blackjack
*open your mask and minimize in your workspace*
c/p = copy and paste, ds = drop shadow
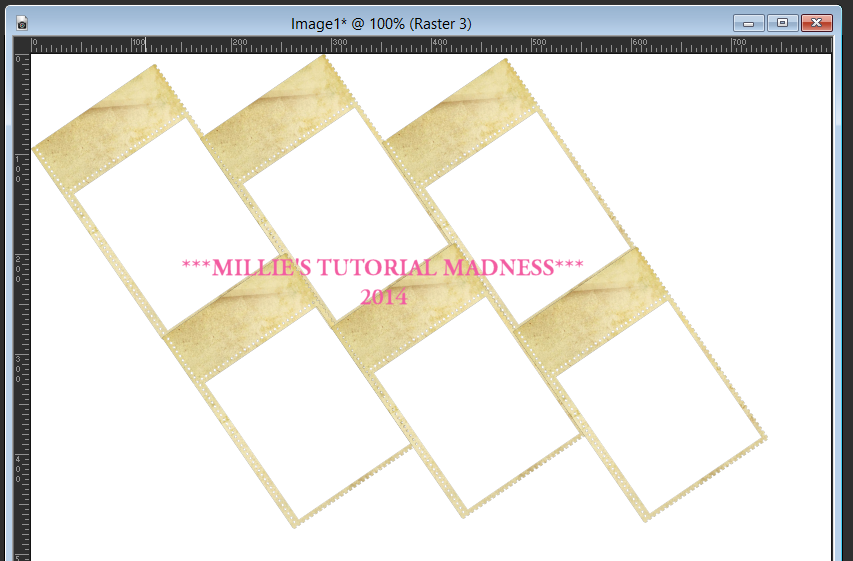
File - New - 800x800 - flood fill w white
Open 24 - resize by 40% sharpen - place to the top left
Duplicate - place it so that is next to the first frame touching on the side
Duplicate one more time and have this piece touching the middle piece
Close background layer - merge visible
Duplicate merged and move down so that the frames are touching
Merge down
They will look something like the picture below:
Open tube close up - c/p as new layer
Move tube under merged layer
Arrange the merged frame so that the face of the tube is inside of it
Once you are happy with the placement of the tube click inside each frame w magic wand
On tube - invert - delete - invert - new layer
Open pp1 - c/p into selection - deselect
Move paper under tube layer
On tube - xero - radiance - change beauty to 94 - hit ok
Add drop shadow to the tube
Change blend mode to screen
Add drop shadow to the frame
Close background layer - merge visible - open background layer
Rename merged layer "frame"
Rename raster 1 "background"
Move frame to the middle
Open 65 - resize by 50% - place to top left - ds
Open 29 - place to bottom
Open 39 - resize by 50% - place to left - ds
Open 36 - resize by 50% 2x - sharpen - place to bottom left - ds
Open 27 - resize by 50% 2x - sharpen - place to left - ds
Open 94 - place to the right - ds
Open 36 - resize by 75% - place to bottom - rotate some - ds
Open 41 - resize by 50% 2x - sharpen - place to bottom - ds
Open 35 - resize by 50% 2x - sharpen - place to bottom right - ds
Open 60 - resize by 50% - place to the right - ds
Open tube - resize to fit your tag
Xero - radiance - same settings as before - hit ok
Open 48 - resize by 50% - place to bottom right - ds
Open 21 - resize by 50% 2x - sharpen - place to bottom - ds
On background layer
Click on background with magic wand - new layer
Open paper5 - c/p into selection - deselect
Layers - New mask layer - From Image
Find your mask in source window - hit ok
Merge group
Open 47 - resize by 85% - place to the right - ds
Open 76 - place to the top right - ds
Open 50 - resize by 50% - place to the top - ds
Duplicate - move to the right some
Duplicate again - place to right and down some
Duplicate and move to the left
Delete background - merge visible
Adjust - Brightness and Contrast
Local Tone Mapping - strength 4.0 - Block Size 35 - hit ok
Add credits and name
Subscribe to:
Post Comments
(Atom)
MY BLINKIE

0 comments:
Post a Comment