Showing posts with label Dark. Show all posts
Showing posts with label Dark. Show all posts
Monday, January 12, 2015

*click on image to view full size*
PTU Fire Warrior
This tutorial was written by me on January 12, 2015.
It was made out of my own creation and any similarity is purely coincidental.
I used pspx6 but any version should work without problems.
If you're doing this tutorial you must have good psp knowledge and be familiar with the tools.
Let's get started!
Artist: Fire Warrior by Kajenna
Scrapkit: Warrior Wolf by Moonshine Designz
Font: Old English TM
*open your mask and minimize in your workspace*
c/p = copy and paste, ds = drop shadow
File - New - 700x700 - flood fill w white
Open 2 - c/p as new layer
Open 59 - resize by 75% - place to left - ds
Open 21 - c/p as new layer - move down some - ds
Open 41 - resize by 50% - place to the left - ds
Open 12 - resize by 65% - place to bottom - ds
Open 18 - resize by 75% - place to left - ds
Duplicate - mirror
Open 53 - resize by 50% 2x - sharpen - place to bottom right - ds
Open tube - resize to liking - place down some
Add drop shadow to your tube
Open 34 - place to the bottom - ds
Open 38 - resize by 50% 2x - sharpen - place to bottom left - ds
Open 39 - resize by 50% - place to bottom right
Delete background - merge visible
Duplicate - change blend to screen - opacity to 50
Add credits and name
Thursday, December 18, 2014
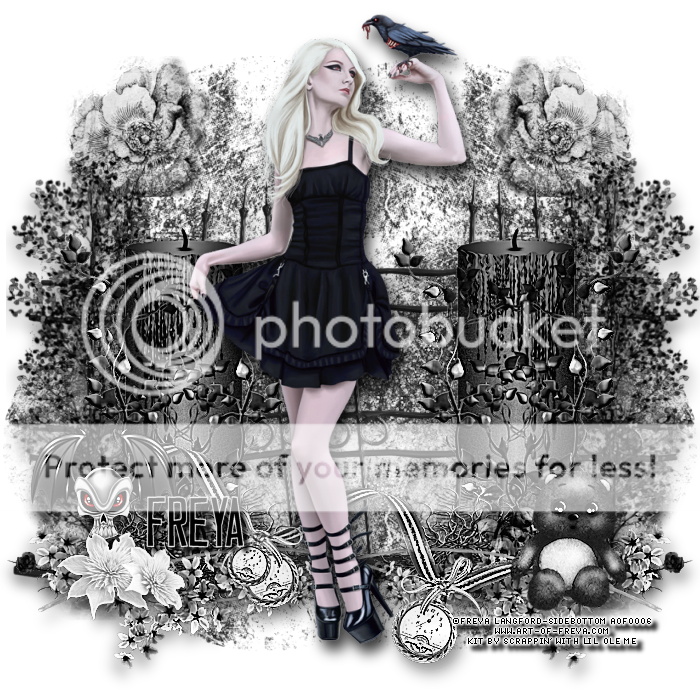
*click on image to view full size*
PTU I'm The Raven
This tutorial was written by me on December 18, 2014.
It was made out of my own creation and any similarity is purely coincidental.
I used pspx6 but any version should work without problems.
If you're doing this tutorial you must have good psp knowledge and be familiar with the tools.
Let's get started!
Artist: The Raven by Freya Langford-Sidebottom
Scrapkit: White N Black by Scrappin' With Lil Ole Me
Font: Casual Hardcore
*open your mask and minimize in your workspace*
c/p = copy and paste, ds = drop shadow
File - New - 700x700 - flood fill w white
Open 55 - resize by 85% - place to left - duplicate - mirror
Open 25 - resize by 70% - move to the bottom some
Open 12 - resize by 75% - place to the right - ds
Duplicate - mirror
Open 31 - resize by 70% - place to the bottom right - ds
Duplicate - mirror
Open 106 - resize by 80% - place to bottom right - ds
Duplicate - mirror
Open 83 - resize by 60% - place to the bottom - ds
Open 20 - resize by 50% 2x - sharpen - place to bottom left - ds
Open 56 - resize by 50% 2x - sharpen - place to the right - ds
Open 72 - resize by 50% 2x - place to bottom left - ds
Open tube - resize to liking - place in the middle
Add drop shadow to your tube
Delete background - merge visible
Adjust - Brightness and Contrast
Local Tone Mapping - strength 4.0 - Block Size 35 - hit ok
Add credits and name
Saturday, December 13, 2014

*click on image to view full size*
PTU In The Dark Of The Night
This tutorial was written by me on December 13, 2014.
It was made out of my own creation and any similarity is purely coincidental.
I used pspx6 but any version should work without problems.
If you're doing this tutorial you must have good psp knowledge and be familiar with the tools.
Let's get started!
Artist: Dani-Delish by Freya
Scrapkit: Midnight Masquerade by Pink Paradox Productions
Plugins: Xero - Radiance
Mask: 102 by me HERE
Font: Antalope
*open your mask and minimize in your workspace*
c/p = copy and paste, ds = drop shadow
File - New - 700x700 - flood fill w white
Open frame 9 - resize by 50% - rotate to right some
Click inside your frame w magic wand - expand by 5 - new layer
Open paper 51 - c/p into selection - deselect
Move paper under frame
Add drop shadow to your frame twice
Open 139 - resize by 50% 2x - sharpen - place to bottom left - ds
Open 220 - resize by 50% - place to the right - ds
Open 200 - resize by 50% 2x - sharpen - place to bottom left - ds
Duplicate - then mirror and move down a tiny bit
Open 125 - resize by 50% - place to the right - ds
Open 93 - resize by 50% 2x - sharpen - place to bottom right - ds
Open 122 - resize by 50% 2x - sharpen - place to bottom left - ds
Open tube - resize to your liking - c/p as new layer
Xero - radiance - change beauty to 88 - hit ok
Add drop shadow to your tube
Open 109 - resize by 50% - place to bottom - ds
Open 137 - resize by 50% 3x - sharpen - place to bottom right - ds
Open 246 - resize by 50% 2x - sharpen - place to bottom - ds
On background layer
Click on background with magic wand - new layer
Open paper16 - c/p into selection - deselect
Layers - New mask layer - From Image
Find your mask in source window - hit ok
Merge group
Open 213 - resize by 70% - move to the left - ds
Open 252 - resize by 50% - place to bottom right
Duplicate - change blend mode to multiply - merge down
Duplicate - mirror
Open 196 - resize by 60% - place to the bottom
Delete background layer - merge visible
Adjust - Brightness and Contrast
Local Tone Mapping - strength 4.0 - Block Size 35 - hit ok
Add credits and name
Friday, October 10, 2014
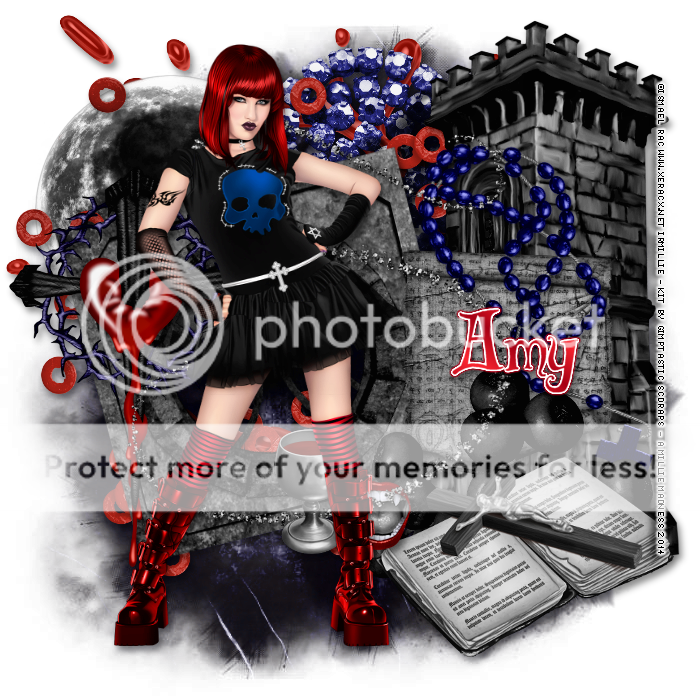
*click on image to view full size*
PTU Let The Darkness Call
This tutorial was written by me on October 10, 2014.
It was made out of my own creation and any similarity is purely coincidental.
I used pspx6 but any version should work without problems.
If you're doing this tutorial you must have good psp knowledge and be familiar with the tools.
Let's get started!
Artist: Goth Abby Fairy by Ismael Rac
Scrapkit: Darkness Calls by Gimptastic Scraps
Mask: 54 by me HERE
Font: Biblioteque
*open your mask and minimize in your workspace*
c/p = copy and paste, ds = drop shadow
File - New - 700x700 - flood fill w white
Click on background with magic wand - new layer
Open paper6 - c/p into selection - deselect
Layers - New mask layer - From Image
Find your mask in source window - hit ok
Merge group
Duplicate mask - change blend mode to multiply - merge down
Open splatter - place to top left - ds
Open moon - place to top left - ds
Open deco 2 - place to top - ds
Open cloud - resize by 85% - place to right - duplicate - mirror
Open scatter - c/p as new layer
Open window - rotate to the left - move left - ds
Open cross - place to left - ds
Open tower - place to right - ds
Open paper - resize by 75% - place to right - ds
Open rosary - place to right - ds
Open berries - place to bottom right - ds
Open bible and crucafix - place to bottom right - ds
Open vamp mouth - resize by 50% 2x - sharpen - place to bottom - ds
Open glitter - resize by 75% - c/p as new layer
Open tube - resize to fit your tag - place to right some
Xero - radiance - change beauty to 100 - hit ok
Drop shadow your tube
Delete background - merge visible
Add credits and name
Monday, September 22, 2014

*click on image to view full size*
PTU I'll Light Your Fire
This tutorial was written by me on September 22, 2014.
It was made out of my own creation and any similarity is purely coincidental.
I used pspx6 but any version should work without problems.
If you're doing this tutorial you must have good psp knowledge and be familiar with the tools.
Let's get started!
Artist: Fire Goddess by Arthur Crowe
Scrapkit: Fairyland Fire by Amy Marie's Kits
Mask: 18 by me HERE
Font: Bulgaria Moderna
*open your mask and minimize in your workspace*
c/p = copy and paste, ds = drop shadow
File - New - 700x700 - flood fill w white
Open 23 - c/p as new layer
Open tube close-up - move under frame
Place face so its inside frame
Click inside your frame w magic wand - expand by 5 - new layer
Open paper of choice - c/p into selection
Move paper under tube layer
On tube - invert - delete - deselect
Change tube blend mode to screen - opacity to 85
Add drop shadow to your frame
Make background layer invisible - merge visible
Make background layer visible
Move merged layer to the right some
Open 106 - place to bottom - ds
Open 121 - place to bottom right - ds
Open 32 - place to bottom left - ds
Open 82 - resize by 50% - 2x - sharpen - place to bottom - ds
Open tube - resize to fit your tag - place to the right some
Add drop shadow to your tube
On background layer
Click on background with magic wand - new layer
Open paper1 - c/p into selection - deselect
Layers - New mask layer - From Image
Find your mask in source window - hit ok
Merge group
Duplicate mask - merge down
Open 57 - place to left - rotate to left some - and move down some - ds
Duplicate 57 - move to the top right
Open 11 - place to the left - ds
Duplicate 11 and mirror
Open 90 - place to bottom and right - ds
Open 120 - place to the right - ds
Open 114 - place to the bottom - ds
Delete background layer - merge visible
Add credits and name
Wednesday, September 10, 2014

*click on image to view full size*
PTU Darken Your Love
This tutorial was written by me on September 10, 2014.
It was made out of my own creation and any similarity is purely coincidental.
I used pspx6 but any version should work without problems.
If you're doing this tutorial you must have good psp knowledge and be familiar with the tools.
Let's get started!
Artist: Demonia by Chris Pastel
Scrapkit: Dark Alice by Amy Marie's Kits
Mask: DBV mask 111
Font: Broken
*open your mask and minimize in your workspace*
c/p = copy and paste, ds = drop shadow
File - New - 700x700 - flood fill w white
Open 27 - c/p as new layer
Click inside your frame w magic wand - expand by 5 - new layer
Open paper22 - c/p into selection - deselect
Move paper under frame
Open 56 - resize by 50% 2x sharpen - place to bottom right - ds
Open 39 - place to the right - duplicate - mirror - merge down - ds
Open tube - resize to fit your tag - c/p as new layer
Xero - radiance - change beauty to 82 - hit ok
Drop shadow tube
Open 62 - place to bottom - ds
Open 3 - resize by 50% 2x sharpen - place to bottom - ds
Open 10 - resize by 50% 2x sharpen - place to bottom left - ds
Open 70 - resize by 50% 2x sharpen - place to bottom right - ds
On background layer
Click on background with magic wand - new layer
Open paper18 - c/p into selection - deselect
Layers - New mask layer - From Image
Find your mask in source window - hit ok
Merge group
Open 118 - place to top right - ds
Open 93 - c/p as new layer - ds
Open 34 - place to bottom - ds
Open 8 - resize by 50% 2x sharpen - place to bottom left - ds
Open 68 - place to bottom - ds
Delete background layer - merge visible
Add credits and name!
Subscribe to:
Posts
(Atom)
MY BLINKIE

