Showing posts with label Kissing Kate. Show all posts
Showing posts with label Kissing Kate. Show all posts
Wednesday, December 3, 2014

PTU Holiday Kitties
This tutorial was written by me on December 3, 2014.
It was made out of my own creation and any similarity is purely coincidental.
I used pspx6 but any version should work without problems.
If you're doing this tutorial you must have good psp knowledge and be familiar with the tools.
Let's get started!
Artist: Snow Mittens by Kajenna
Scrapkit: Christmas Cuteness by Kissing Kate
Mask: 102 by me HERE
Font: aka Dora
*open your mask and minimize in your workspace*
c/p = copy and paste, ds = drop shadow
File - New - 700x700 - flood fill w white
Click on background with magic wand - new layer
Open paper8 - c/p into selection - deselect
Layers - New mask layer - From Image
Find your mask in source window - hit ok
Merge group
Resize mask by 85% - move to right - duplicate - mirror
Move mask on the left down some
Open 25 - resize by 80% - place to right - ds
Open 19 - move to right some - ds
Open 58 - resize by 50% 2x - sharpen - place to left and rotate left some - ds
Open 52 - resize by 75% - place to left some - ds
Open 42 - resize by 80% - place to left - ds
Open 40 - resize by 80% - place to left - ds
Open kittens - copy merged to get all three - resize to liking
place so that they are in the middle and bottom
Sharpen more and add drop shadow
Open 55 -place to the bottom - ds
Open 37 - resize by 50% - place to bottom left - ds
Duplicate - mirror
Open 38 - resize by 75% - place to bottom - ds
Open 62 - resize by 50% 2x - place to bottom - ds
Delete background layer - merge visible
Adjust - Brightness and Contrast
Local Tone Mapping - strength 4.0 - Block Size 35 - hit ok
Add credits and name
Sunday, November 16, 2014
*click on image to view full size*
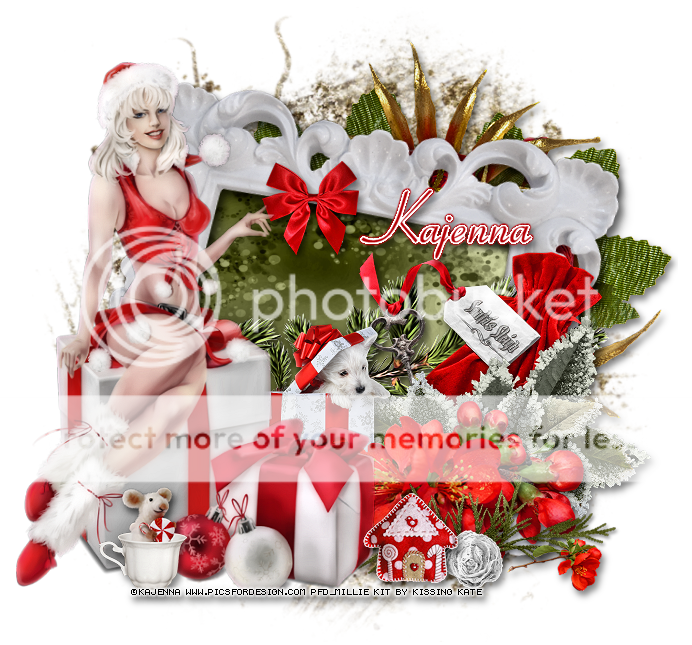
PTU Ready for Christmas!
This tutorial was written by me on November 16, 2014.
It was made out of my own creation and any similarity is purely coincidental.
I used pspx6 but any version should work without problems.
If you're doing this tutorial you must have good psp knowledge and be familiar with the tools.
Let's get started!
Artist: Snow Maiden by Kajenna
Scrapkit: Let It Snow by Kissing Kate
Mask: 2 of Pack 24 by Rocked by Rachel
Font: Coronet PS
*open your mask and minimize in your workspace*
c/p = copy and paste, ds = drop shadow (I'm using V5, H5, Opacity 50, Blur 10, black)
File - New - 700x700 - flood fill w white
Click on background with magic wand - new layer
Open paper2 - c/p into selection - deselect
Layers - New mask layer - From Image
Find your mask in source window - hit ok
Merge group
Open 44 - place to the right - ds
Open frame 2 - resize by 70% - rotate to right some - c/p as new layer
Click inside your frame w magic wand - expand by 5 - new layer
Open paper8 - c/p into selection - deselect
Move paper under frame
Add drop shadow to your frame
Open 45 - resize by 50% 2x - sharpen - place to top - ds
Open 79 - c/p as new layer - move down a little bit - ds
Open 50 - resize by 50% - place to the right - ds
Open 69 - resize by 50% - place to bottom right - ds
Open 80 - resize by 50% 2x - sharpen - place to bottom - ds
Open 70 - place to the bottom and right some - ds
Open 75 - resize by 50% - place to bottom right - ds
Open 61 - resize by 50% 3x - sharpen - place to bottom right - ds
Open 63 - resize by 50% 2x - sharpen - place to bottom right - ds
Open tube - resize to liking - place to left of tag
Xero - porcelain - change blue channel to 0 - hit ok
Add drop shadow to your tube
Open 72 - resize by 50% 2x - sharpen - place to bottom right - ds
Open 78 - resize by 50% 2x - sharpen - place to bottom - ds
Delete background layer - merge visible
Adjust - Brightness and Contrast
Local Tone Mapping - strength 4.0 - Block Size 35 - hit ok
Add credits and name
Monday, November 3, 2014

*click on image to view full size*
PTU Holiday Peace
This tutorial was written by me on November 3, 2014.
It was made out of my own creation and any similarity is purely coincidental.
I used pspx6 but any version should work without problems.
If you're doing this tutorial you must have good psp knowledge and be familiar with the tools.
Let's get started!
Artist: Christmas Cat by Kajenna
Scrapkit: Vintage Holiday by Kissing Kate
Mask: 80 by me HERE
Font: Chocolate Box
*open your mask and minimize in your workspace*
c/p = copy and paste, ds = drop shadow (I'm using V5, H5, Opacity 50, Blur 10, black)
File - New - 700x700 - flood fill w white
Click on background with magic wand - new layer
Open paper6 - c/p into selection - deselect
Layers - New mask layer - From Image
Find your mask in source window - hit ok
Merge group
Duplicate - change blend to multiply
Open 20 - place to the right - ds
Open 10 - place to the left - ds
Open 62 - place to right and rotate right some - ds
Open 2 - resize by 50% 2x - sharpen - place to the right - ds
Open frame 3 - reszie by 50% - rotate left some - place to right
Click inside your frame w magic wand - expand by 5 - new layer
Open paper4 - c/p into selection - deselect
Move paper under frame
Add drop shadow to frame and merge down to paper
Open 5 - resize by 50% - place to bottom left - ds
Open 1 - resize by 50% 2x - sharpen - place to the bottom left - ds
Open 7 - resize by 50% - place to bottom right - ds
Open tube - resize by 50% 2x - sharpen - c/p as new layer - place to bottom - ds
Open 22 - resize by 50% 2x - sharpen - place to the bottom left - ds
Open 34 - resize by 50% 2x - sharpen - place to the bottom right - ds
Delete background layer - merge visible
Crop tag to liking
Adjust - Brightness and Contrast
Local Tone Mapping - strength 4.0 - Block Size 35 - hit ok
Add credits and name
Subscribe to:
Posts
(Atom)
MY BLINKIE

