Showing posts with label Keith Garvey. Show all posts
Showing posts with label Keith Garvey. Show all posts
Friday, January 9, 2015

*click on image to view full size*
PTU Let's Celebrate 2015
This tutorial was written by me on January 9, 2015.
It was made out of my own creation and any similarity is purely coincidental.
I used pspx6 but any version should work without problems.
If you're doing this tutorial you must have good psp knowledge and be familiar with the tools.
Let's get started!
Artist: Keith Garvey
Scrapkit: Celebrate 2015 by Niqui's Designs
Mask: 103 by me HERE
Font: Poolie
*open your mask and minimize in your workspace*
c/p = copy and paste, ds = drop shadow
File - New - 700x700 - flood fill w white
Click on background with magic wand - new layer
Open paper14 - c/p into selection - deselect
Layers - New mask layer - From Image
Find your mask in source window - hit ok
Merge group
Open 22 - place to bottom and right some
Open 49 - resize by 75% - c/p as new layer - ds
Open 44 - resize by 75% - move to bottom some - ds
Open 28 - place to right - ds
Open 35 - resize by 50% - place to bottom - ds
Open tube - place to the left
Xero - porcelain - change blue channel to 0 - hit ok
Add drop shadow to your tube
Delete background - merge visible
Adjust - Brightness and Contrast
Local Tone Mapping - strength 4.0 - Block Size 35 - hit ok
Add credits and name
Friday, December 26, 2014
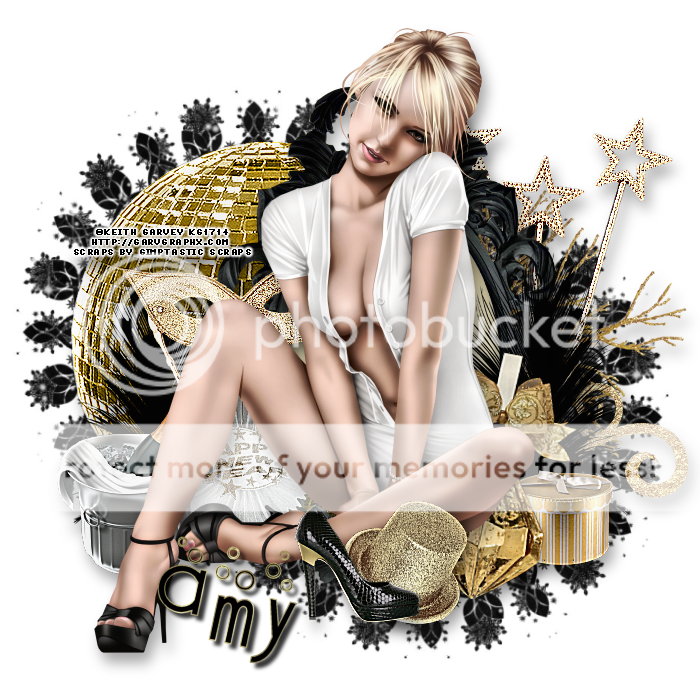
*click on image to view full size*
FTU Awaiting Your New Year's Kiss
This tutorial was written by me on December 26, 2014.
It was made out of my own creation and any similarity is purely coincidental.
I used pspx6 but any version should work without problems.
If you're doing this tutorial you must have good psp knowledge and be familiar with the tools.
Let's get started!
Artist: Sweet by Keith Garvey
Scrapkit: FTU Happy New Year by Gimptastic Scraps
Mask: 107 by me HERE
Font: Cocktail Bubbly
*open your mask and minimize in your workspace*
c/p = copy and paste, ds = drop shadow
File - New - 700x700 - flood fill w white
Click on background with magic wand - new layer
Open paper1 - c/p into selection - deselect
Layers - New mask layer - From Image
Find your mask in source window - hit ok
Merge group
Resize mask by 75% - move to left and up some
Duplicate mask - mirror - move to bottom
Open branch - c/p as new layer - mirror
Move to the right
Open swirl - bottom right - ds
Stars - place to the right - ds
Glitter ball - place to left - ds
Open frame 1 - c/p as new layer - move to right some
Click inside your frame w magic wand - expand by 5 - new layer
Open paper6 - c/p into selection - deselect
Move paper under frame
Add drop shadow of choice to your frame
Open feather2 - place to right - ds
Duplicate - mirror
Open box 1 - resize by 50% - place to bottom right - ds
Open deco 3 - resize by 75% - place to bottom right
Rotate to the right w your deform tool - ds
Open mask - place to bottom left - ds
Open champagne bucket - resize by 50% - place to bottom left - ds
Open tube - c/p as new layer - move to right a little bit
Xero - radiance - change beauty to 97 - hit ok
Add drop shadow to your tube
Open hat - resize to 50% - place to the bottom - ds
Open heel - resize by 50% - place to the bottom - ds
Delete background layer - merge visible
Adjust - Brightness and Contrast
Local Tone Mapping - strength 4.0 - Block Size 35 - hit ok
Add credits and add name
Thursday, September 11, 2014
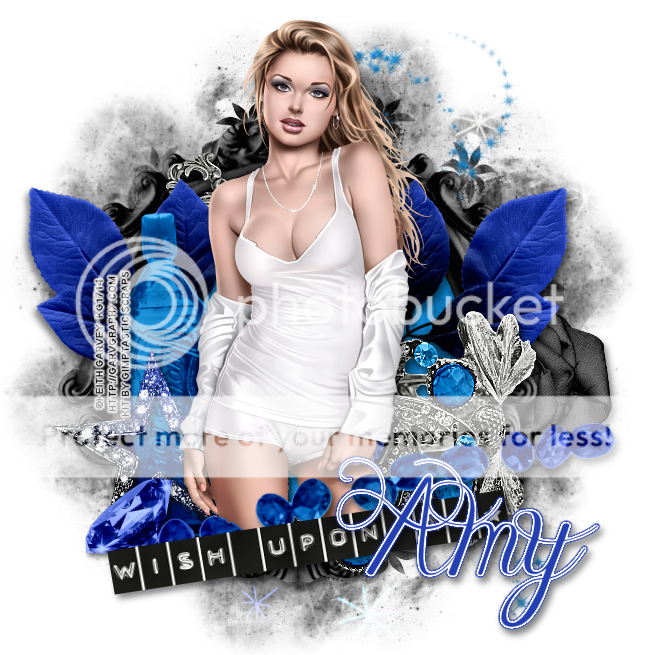
*click on image to view full size*
PTU Wish Upon a Star
This tutorial was written by me on September 11, 2014.
It was made out of my own creation and any similarity is purely coincidental.
I used pspx6 but any version should work without problems.
If you're doing this tutorial you must have good psp knowledge and be familiar with the tools.
Let's get started!
Artist: Cherished by Keith Garvey
Scrapkit: Birthstone Series: Sapphire by Gimptastic Scraps
Mask: 37 by me HERE
PLUGIN: XERO-Radiance
Font: Janda Celebration Script
*open your mask and minimize in your workspace*
c/p = copy and paste, ds = drop shadow
File - New - 700x700 - flood fill w white
Open frame 4 - resize by 80% - c/p as new layer
Click inside your frame w magic wand - expand by 5 - new layer
Open paper4 - c/p into selection - deselect
Move paper under frame
Add drop shadow to your frame
Open key - resize by 50% - place to top left - ds
Open leaves 1 - resize by 65% - mirror - move to right
Duplicate - mirror
Open bottle - place to the left - rotate some - ds
Open bracelet - place to right - ds
Open star 1 - place to bottom left - ds
Open gem - resize by 70% - place to bottom left - ds
Open tube - c/p as new layer
Xero - Radiance - change beauty to 70 - hit ok
Add drop shadow to your tube
Open sapphire scatter - resize by 8% - place to bottom - ds
Open wish - place to bottom - rotate to left a little - ds
On background layer
Click on background with magic wand - new layer
Open paper5 - c/p into selection - deselect
Layers - New mask layer - From Image
Find your mask in source window - hit ok
Merge group
Open glitter dust - place to the right
Open flower 1 - place to the right
Delete background - merge visible
Adjust - Brightness and Contrast
Local Tone Mapping - strength 4.0 - Block Size 35 - hit ok
Add credits and name
Subscribe to:
Posts
(Atom)
MY BLINKIE

