Showing posts with label Tiny Turtle Designs. Show all posts
Showing posts with label Tiny Turtle Designs. Show all posts
Saturday, October 18, 2014

*click on image to view full size*
FTU Let's Be Aware
This tutorial was written by me on October 18, 2014.
It was made out of my own creation and any similarity is purely coincidental.
I used pspx6 but any version should work without problems.
If you're doing this tutorial you must have good psp knowledge and be familiar with the tools.
Let's get started!
Artist: Pinky by Jose Cano
Scrapkit: BCA 2014 Freebie by Tiny Turtle Designs
Plugins: Xero - Radiance
Font: Aquarelle
*open your mask and minimize in your workspace*
c/p = copy and paste, ds = drop shadow (I'm using V5, H5, Opacity 50, Blur 10, black)
File - New - 700x700 - flood fill w white
Open 121 - place to left
Open tube - place under heart frame
Click inside your frame w magic wand - expand by 5 - new layer
Open paper1 - c/p into selection
Move paper under tube
On tube - invert - delete - deselect
Xero - Radiance - change beauty to 112 - hit ok
ADd drop shadow to your frame
Merge tube down to paper and then merge frame down
Open 37 - resize by 50% 2x - sharpen - place to bottom - ds
Open 9 - resize by 50% 2x - sharpen - place to bottom - ds
Open tube - resize to liking - place to right - ds
Open 92 - resize by 50% 2x - sharpen - place to bottom - ds
Open 44 - resize by 50% 2x - sharpen - place to bottom right - ds
Open 6 - resize by 50% 2x - sharpen - place to bottom - ds
On background layer
Open 114 - place to the bottom left - duplicate - mirror - merge down
Duplicate - flip
Open 91 - place to top right - ds
Open 45 - place to left - ds
Open 2 - resize by 80% - place to left - ds
Open 18 - resize by 50% 2x - sharpen - place to the top - ds
Open 36 - place to bottom left - ds
Monday, October 6, 2014

*click on image to view full size*
PTU Giving You That Look
This tutorial was written by me on October 6, 2014.
It was made out of my own creation and any similarity is purely coincidental.
I used pspx6 but any version should work without problems.
If you're doing this tutorial you must have good psp knowledge and be familiar with the tools.
Let's get started!
Artist: Cute Babe by Arthur Crowe
Scrapkit: Stunning Autumn by Tiny Turtle Designs
Plugins: Lokas 3D Shadow, Xero Radiance
Mask: 59 by me HERE
Font: Maratre
*open your mask and minimize in your workspace*
c/p = copy and paste, ds = drop shadow
File - New - 700x700 - flood fill w white
Click on background with magic wand - new layer
Open paper4 - c/p into selection - deselect
Layers - New mask layer - From Image
Find your mask in source window - hit ok
Merge group
Open 99 - resize by 90% - c/p as new layer - ds
Open 8 - resize by 70% - c/p as new layer
Click inside frame (8) w magic wand
Click inside your frame w magic wand - expand by 5 - new layer
Open paper3 - c/p into selection - deselect
Move paper under frame
On your frame apply Lokas 3D Shadow w following settings:
Blur: 25 Transparency: 70
Angle X: 0 Angle Y: 0 Angle Z: 0
Zoom: 100 Offset X: 5 Offset Y: 5
Perspective: 40 Color: Black
Hit Okay
Open 88 - resize by 50% - place to left - ds
Open 67 - place to bottom - ds
Open 65 - place to bottom left - ds
Open 101 - resize by 50% 2x - sharpen - place to left - ds
Open 80 - resize by 50% - place to bottom left - ds
Open 106 - place to right - ds
Open 97 - resize by 50% - place to right - ds
Open 120 - resize by 50% 2x - sharpen - place to bottom right - ds
Open tube - resize to liking
Xero - radiance - change beauty to 64 - hit ok
Drop shadow on your tube
Delete background layer - merge visible
Adjust - Brightness and Contrast
Local Tone Mapping - strength 4.0 - Block Size 35 - hit ok
Add credits and name
Friday, September 19, 2014
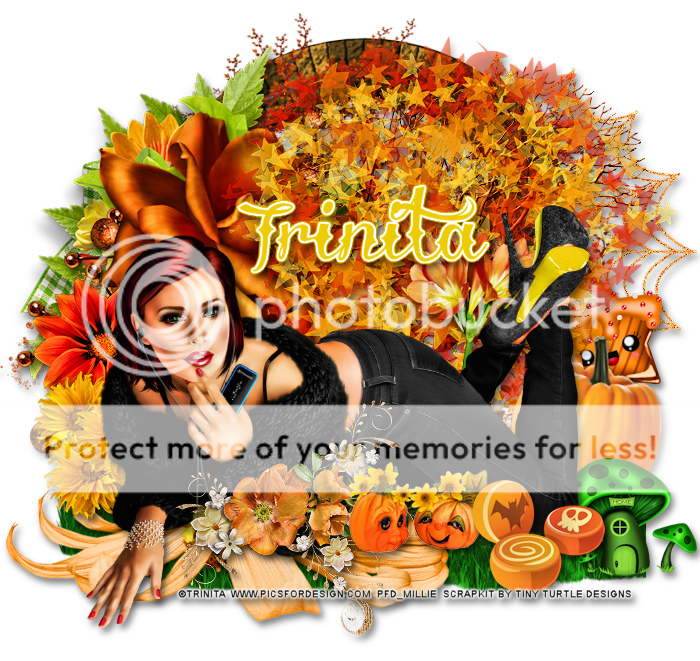
*click on image to view full size*
PTU Beautiful Autumn
This tutorial was written by me on September 19, 2014.
It was made out of my own creation and any similarity is purely coincidental.
I used pspx6 but any version should work without problems.
If you're doing this tutorial you must have good psp knowledge and be familiar with the tools.
Let's get started!
Artist: Autumn Melody tube by Trinita
Scrapkit: Fall Leaves by Tiny Turtle Designs
Plugins: Xero - Radiance
Font: Delinquente
*open your mask and minimize in your workspace*
c/p = copy and paste, ds = drop shadow
File - New - 700x700 - flood fill w white
Open 118 - place to the right - ds
Open 8 - resize by 85% - c/p as new layer - ds
Open 121 - place to top left - ds
Open 107 - place to the bottom - ds
Open 85 - place to left - ds
Open 29 - resize by 50% 2x sharpen - place to the right - ds
Open 27 - resize by 50% 2x sharpen - place to the left - ds
Open 28 - resize by 50% 2x sharpen - place to bottom left - ds
Open 22 - place to the right - ds
Open 17 - resize by 50% 2x sharpen - place to the right - ds
Open 19 - resize by 50% - place to bottom - rotate to the right - ds
Open 43 - resize by 50% 2x sharpen - place to bottom right - ds
Open tube - resize to liking - place to bottom
Xero - radiance - beauty to 118 - hit ok
Add drop shadow to your tube
Oepn 104 - resize by 50% - place to bottom - ds
Open 56 - place to bottom - ds
Open 47 - resize by 50% 2x sharpen - place to bottom - ds
Delete background - merge visible
Adjust - Brightness and Contrast
Local Tone Mapping - strength 4.0 - Block Size 35 - hit ok
Add credits and name
Subscribe to:
Posts
(Atom)
MY BLINKIE

